Mac 终端的美化与强化
目录
1. 前言
之前用 Ubuntu、Elementary OS 时觉得其终端既漂亮又好用,一些牛人的桌面终端也配置得挺好看。虽然 Mac 的默认终端配置已经比 Windows 好看好用很多了,但还是觉得不够。于是灵机一动,想着能不能美化一下。先是自己尝试手动设置 Terminal 的配置参数,先改字体,将 SF Mono 改成 Monaco(之前版本的 macOS 终端默认字体是 Monaco,还是挺不错的,不知为什么后来改成了没那么好看的 SF Mono),再将背景设置成黑色,字体设置成绿色,营造黑客帝国的感觉,……,感觉还行。用了一段时间,还是觉得不够好看。黔驴技穷了啊。突然又灵光一闪,想着能不能在网上下载其它高人制作的主题,看看别人的设置方法,于是便有了此文。
2. 前提条件
2.1. 确保 Shell 环境为 Zsh
-
Zsh 在 Mac 平台挺流行的,默认也是 Zsh。如果之前改成过 Bash,可使用如下命令改回来,因为此文参考的主题和组件都是针对 Zsh 的。
chsh -s /bin/zsh
2.2. 确保安装了 Homebrew
-
Homebrew 是 Mac 平台最著名的包管理器,而 Mac 默认没有安装,如果因其它事安装过则不用再安装,可通过
brew -v查看是否安装过,如没安装过则执行一下命令安装:/bin/bash -c "$(curl -fsSL https://raw.githubusercontent.com/Homebrew/install/HEAD/install.sh)" -
安装 Homebrew 极有可能需要梯子 🪜,万物离不开梯子,如果你还没有梯子,可参考我的 科学上网系列 自造梯子为自己赋能。
3. 字体安装
3.1. 原生字体安装(不推荐)
-
下载字体 Ubuntu Mono,此字体让我印象深刻,一直是我最喜欢的字体之一,当初用 Ubuntu 时就眼前一亮,所以最终在和 Menlo 艰难的比拼中略胜一筹。Ubuntu Mono、Menlo、Hack、Monaco、Consolas、JetBrains Mono 这几款都是我很喜欢的字体,综合来说偏爱 Menlo、hack,hack 的 0 不够好,如果能用 Menlo 的 0 替换掉 hack 的 0,那 hack 将是一个相当完美的语言。
-
首先,使用 curl 命令从 Google Fonts API 下载字体(需要走终端代理)。
curl -L -o ~/Downloads/ubuntu-mono.zip "https://fonts.google.com/download?family=Ubuntu%20Mono" -
接下来,使用 unzip 命令解压缩下载的字体文件。
unzip ~/Downloads/ubuntu-mono.zip -d ~/Downloads/ubuntu-mono -
然后,使用 mv 命令将字体文件移动到您的字体目录中。
mv ~/Downloads/ubuntu-mono/*.ttf ~/Library/Fonts/ -
最后,使用 rm 命令删除下载的字体文件和解压缩的文件夹。
rm -rf ~/Downloads/ubuntu-mono.zip ~/Downloads/ubuntu-mono
3.2. Nerd 字体安装(强烈推荐)
-
从 Nerd Fonts 官网下载字体 UbuntuMono Nerd Font 。
-
解压下载好的这个字体安装包,并双击安装,移除安装包。
-
Q & A
- 为什么要从这里下载安装字体?
- 因为默认的官网下载字体是不带图标的,而 Nerd Fonts 项目为其打了补丁。 Nerd Fonts 项目旨在为常用的编程字体增加额外的图标和符号,通过对原有字体进行“打补丁”处理, 加入了丰富的图标和符号(如 Powerline 图标、Font Awesome、Octicons 等), 使其能够在终端提示符、状态栏以及开发环境中显示各类图标。这些图标为美化终端、增强信息表达和提升用户体验提供了极大便利。
4. 主题安装
-
前提。通过系统自带的
curl命令总是下载空文件,使用wget没问题。如果没有则安装wget。brew install wget -
下载主题 snazzy。snazzy 是我目前见过最漂亮的主题之一(恕我见识浅薄),如其名所示:时髦的。
wget https://github.com/sindresorhus/terminal-snazzy/raw/main/Snazzy.terminal -
双击下载的文件加载主题配置。
-
启用主题配置。打开终端,转到 Preferences… ,然后转到 Profiles ,单击 Snazzy ,然后单击 Default 按钮。
-
安装 oh-my-zsh。
sh -c "$(curl -fsSL https://raw.github.com/ohmyzsh/ohmyzsh/master/tools/install.sh)" -
修改字体。打开终端的设置,在 Profiles 面板修改字体为 Ubuntu Mono,字号为 18。并执行以下命令:
brew install starship echo 'eval "$(starship init zsh)"' >> ~/.zshrc -
安装 oh-my-zsh 的插件。
-
安装 autojump。
brew install autojump-
打开
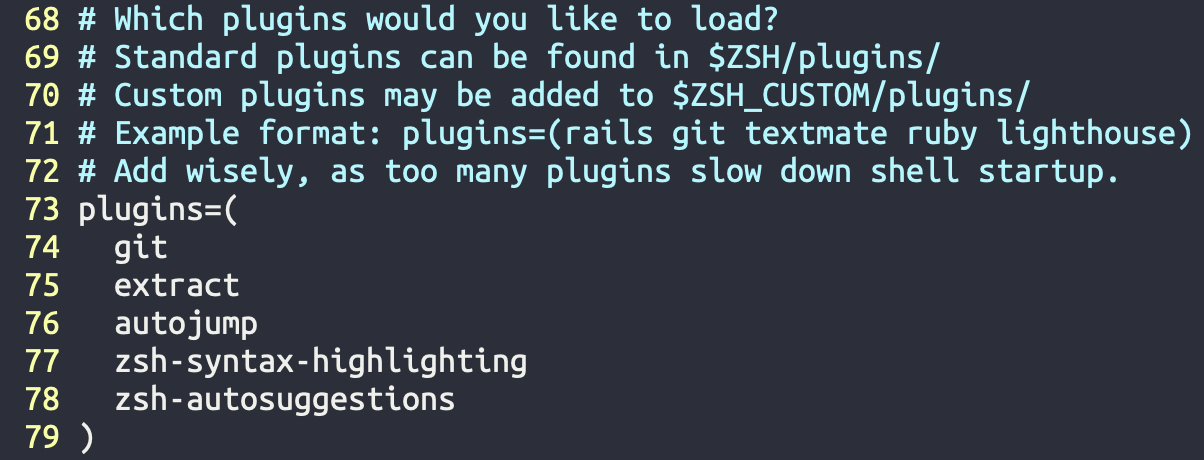
~/.zshrc,将插件添加到要加载的 oh-my-zsh 的插件列表中。plugins=( # other plugins... autojump )
-
-
安装 zsh-syntax-highlighting。
-
如果未安装过 git 则需要去安装。
brew install git -
安装完 Git 之后,要做的第一件事就是设置你的用户名和邮件地址。 这一点很重要,因为每一个 Git 提交都会使用这些信息,它们会写入到你的每一次提交中,不可更改:
git config --global user.name "John Doe"
git config --global user.email johndoe@example.com
user.name 和 user.email 后面的内容需要根据自己的情况填写。
git clone https://github.com/zsh-users/zsh-syntax-highlighting.git ${ZSH_CUSTOM:-~/.oh-my-zsh/custom}/plugins/zsh-syntax-highlighting -
打开
~/.zshrc,将插件添加到要加载的 oh-my-zsh 的插件列表中.plugins=( # other plugins... zsh-syntax-highlighting )
-
-
安装 zsh-autosuggestions。
git clone https://github.com/zsh-users/zsh-autosuggestions ${ZSH_CUSTOM:-~/.oh-my-zsh/custom}/plugins/zsh-autosuggestions-
打开
~/.zshrc,将插件添加到要加载的 oh-my-zsh 的插件列表中.plugins=( # other plugins... zsh-autosuggestions )
-
-
.zshrc 的插件配置类似。
-
5. 命令提示符安装
brew install pure
-
将 site-functions 添加到文件
$HOME/.zshrc末尾。fpath+=("$(brew --prefix)/share/zsh/site-functions") -
初始化提示符系统并选择 pure 主题作为命令提示符主题。将以下指令添加到 .zshrc 文件末尾。
autoload -U promptinit; promptinit
prompt pure
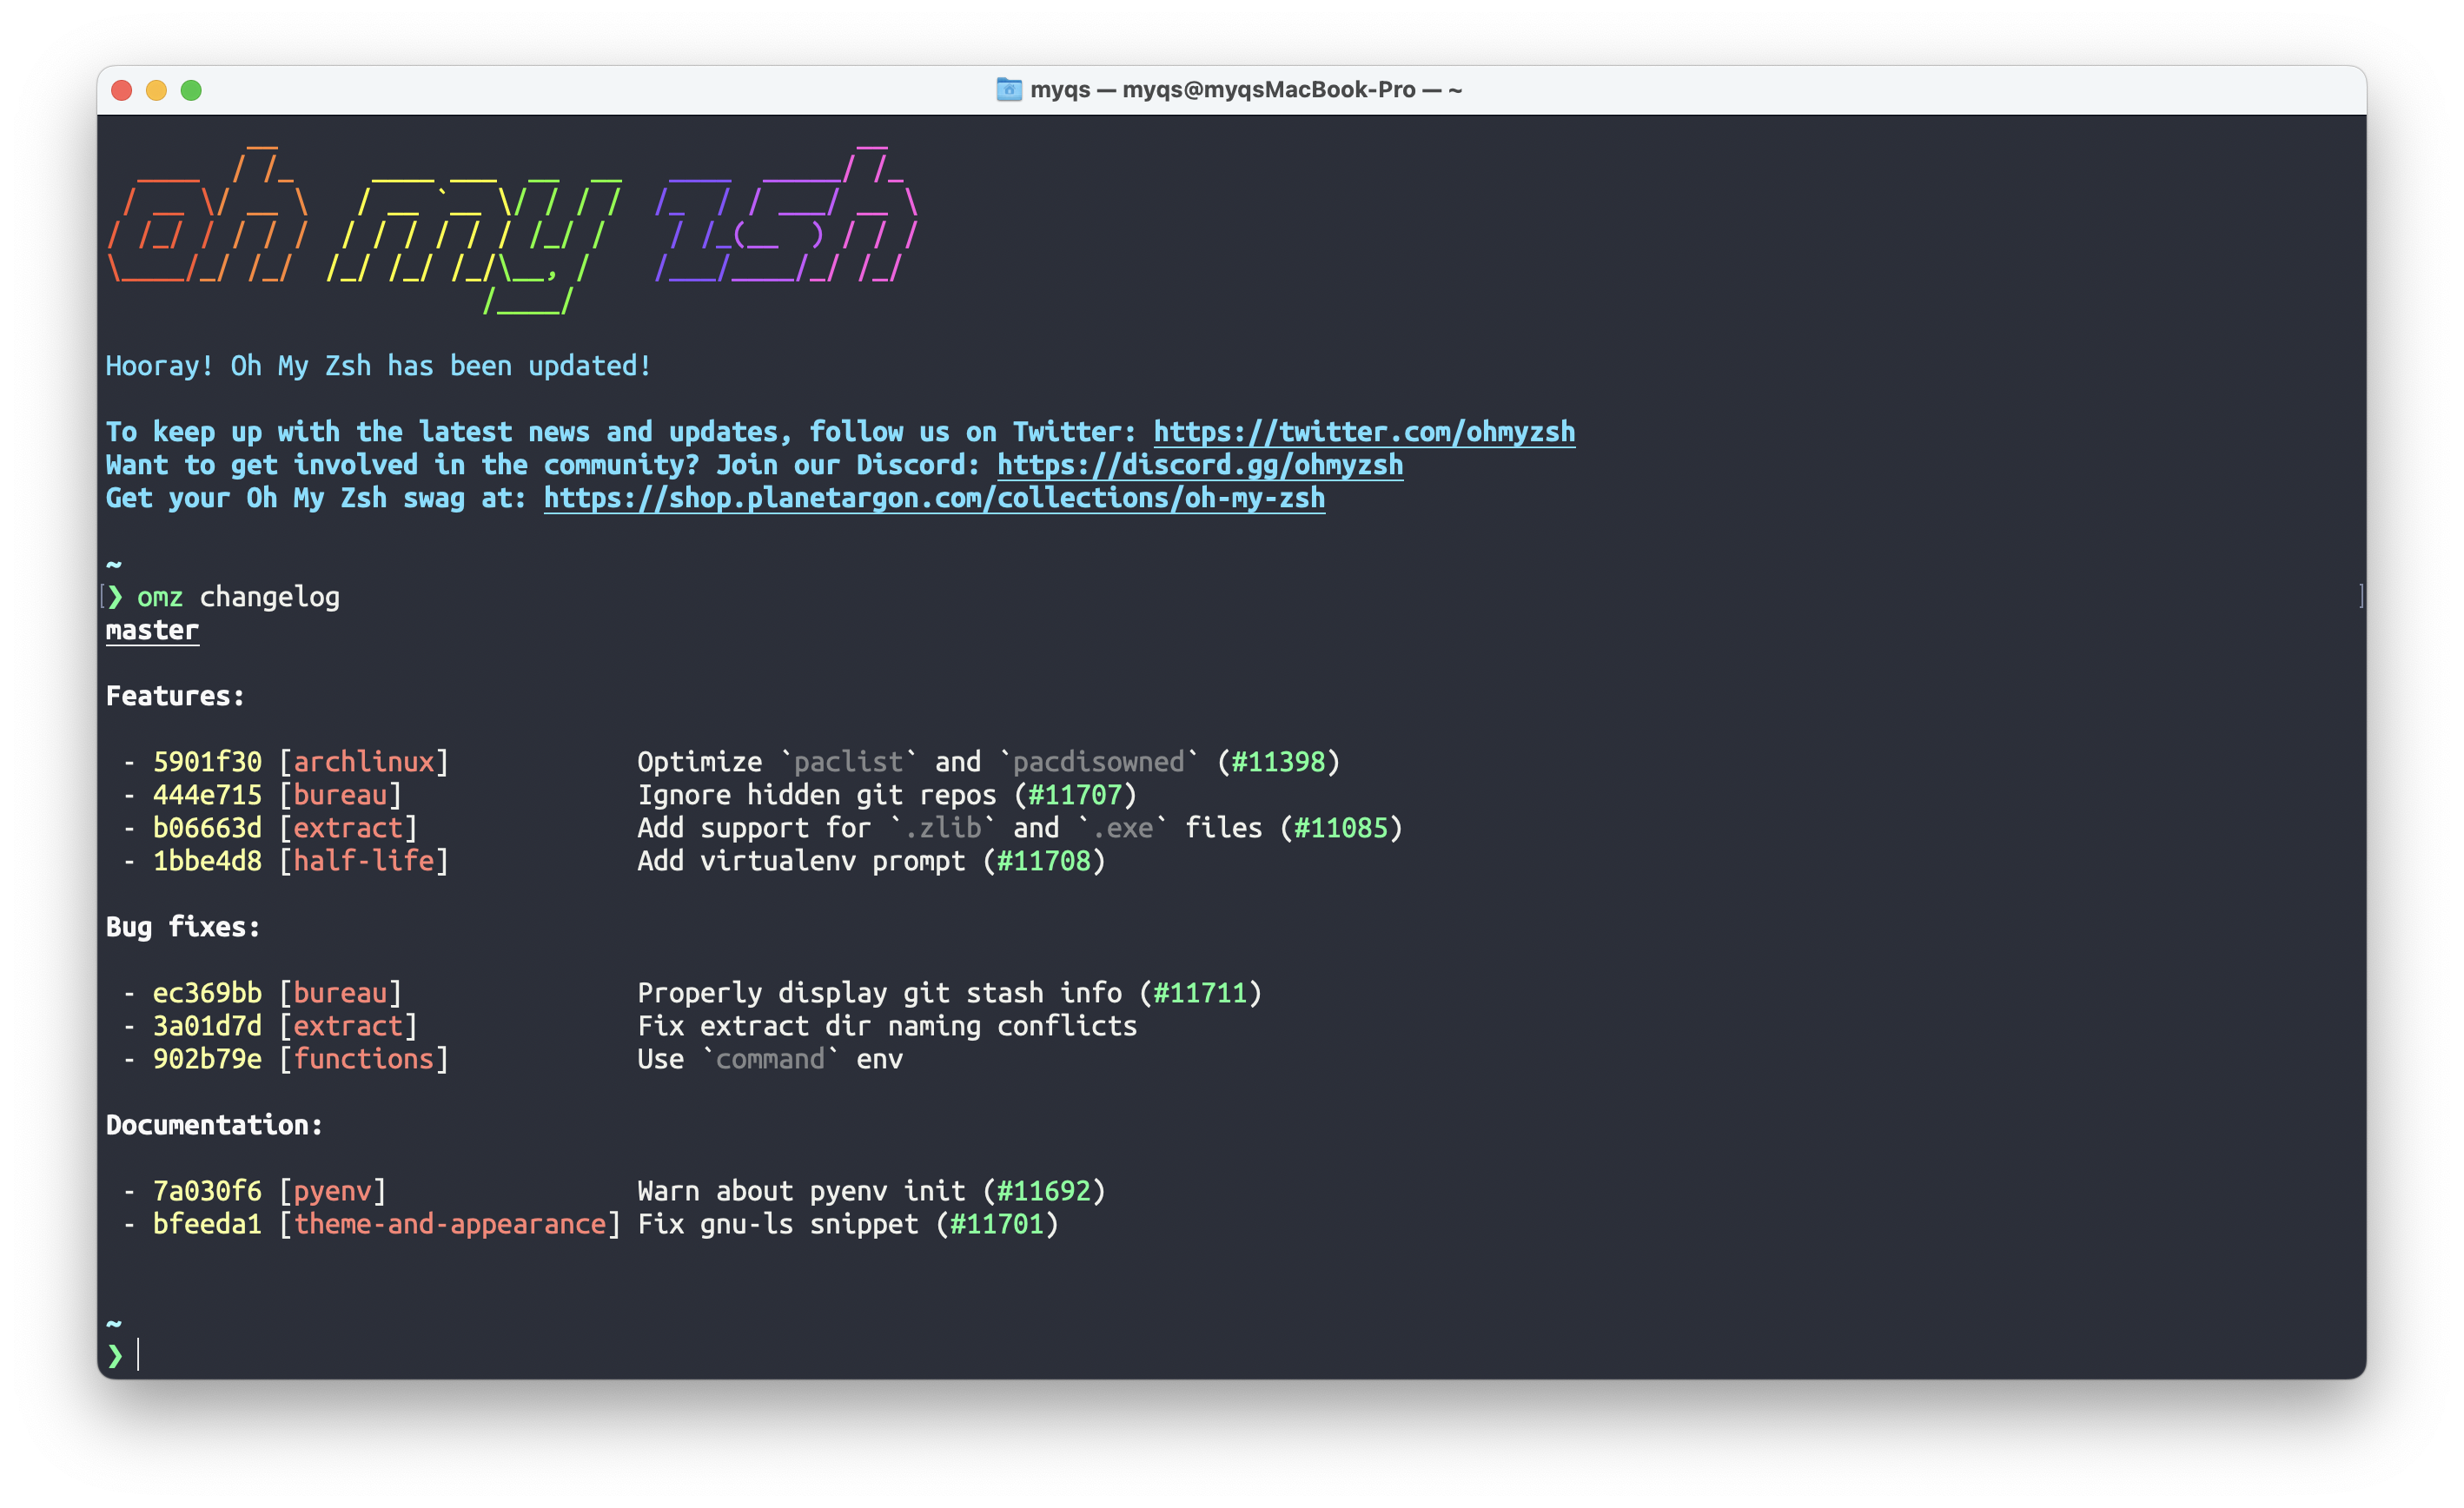
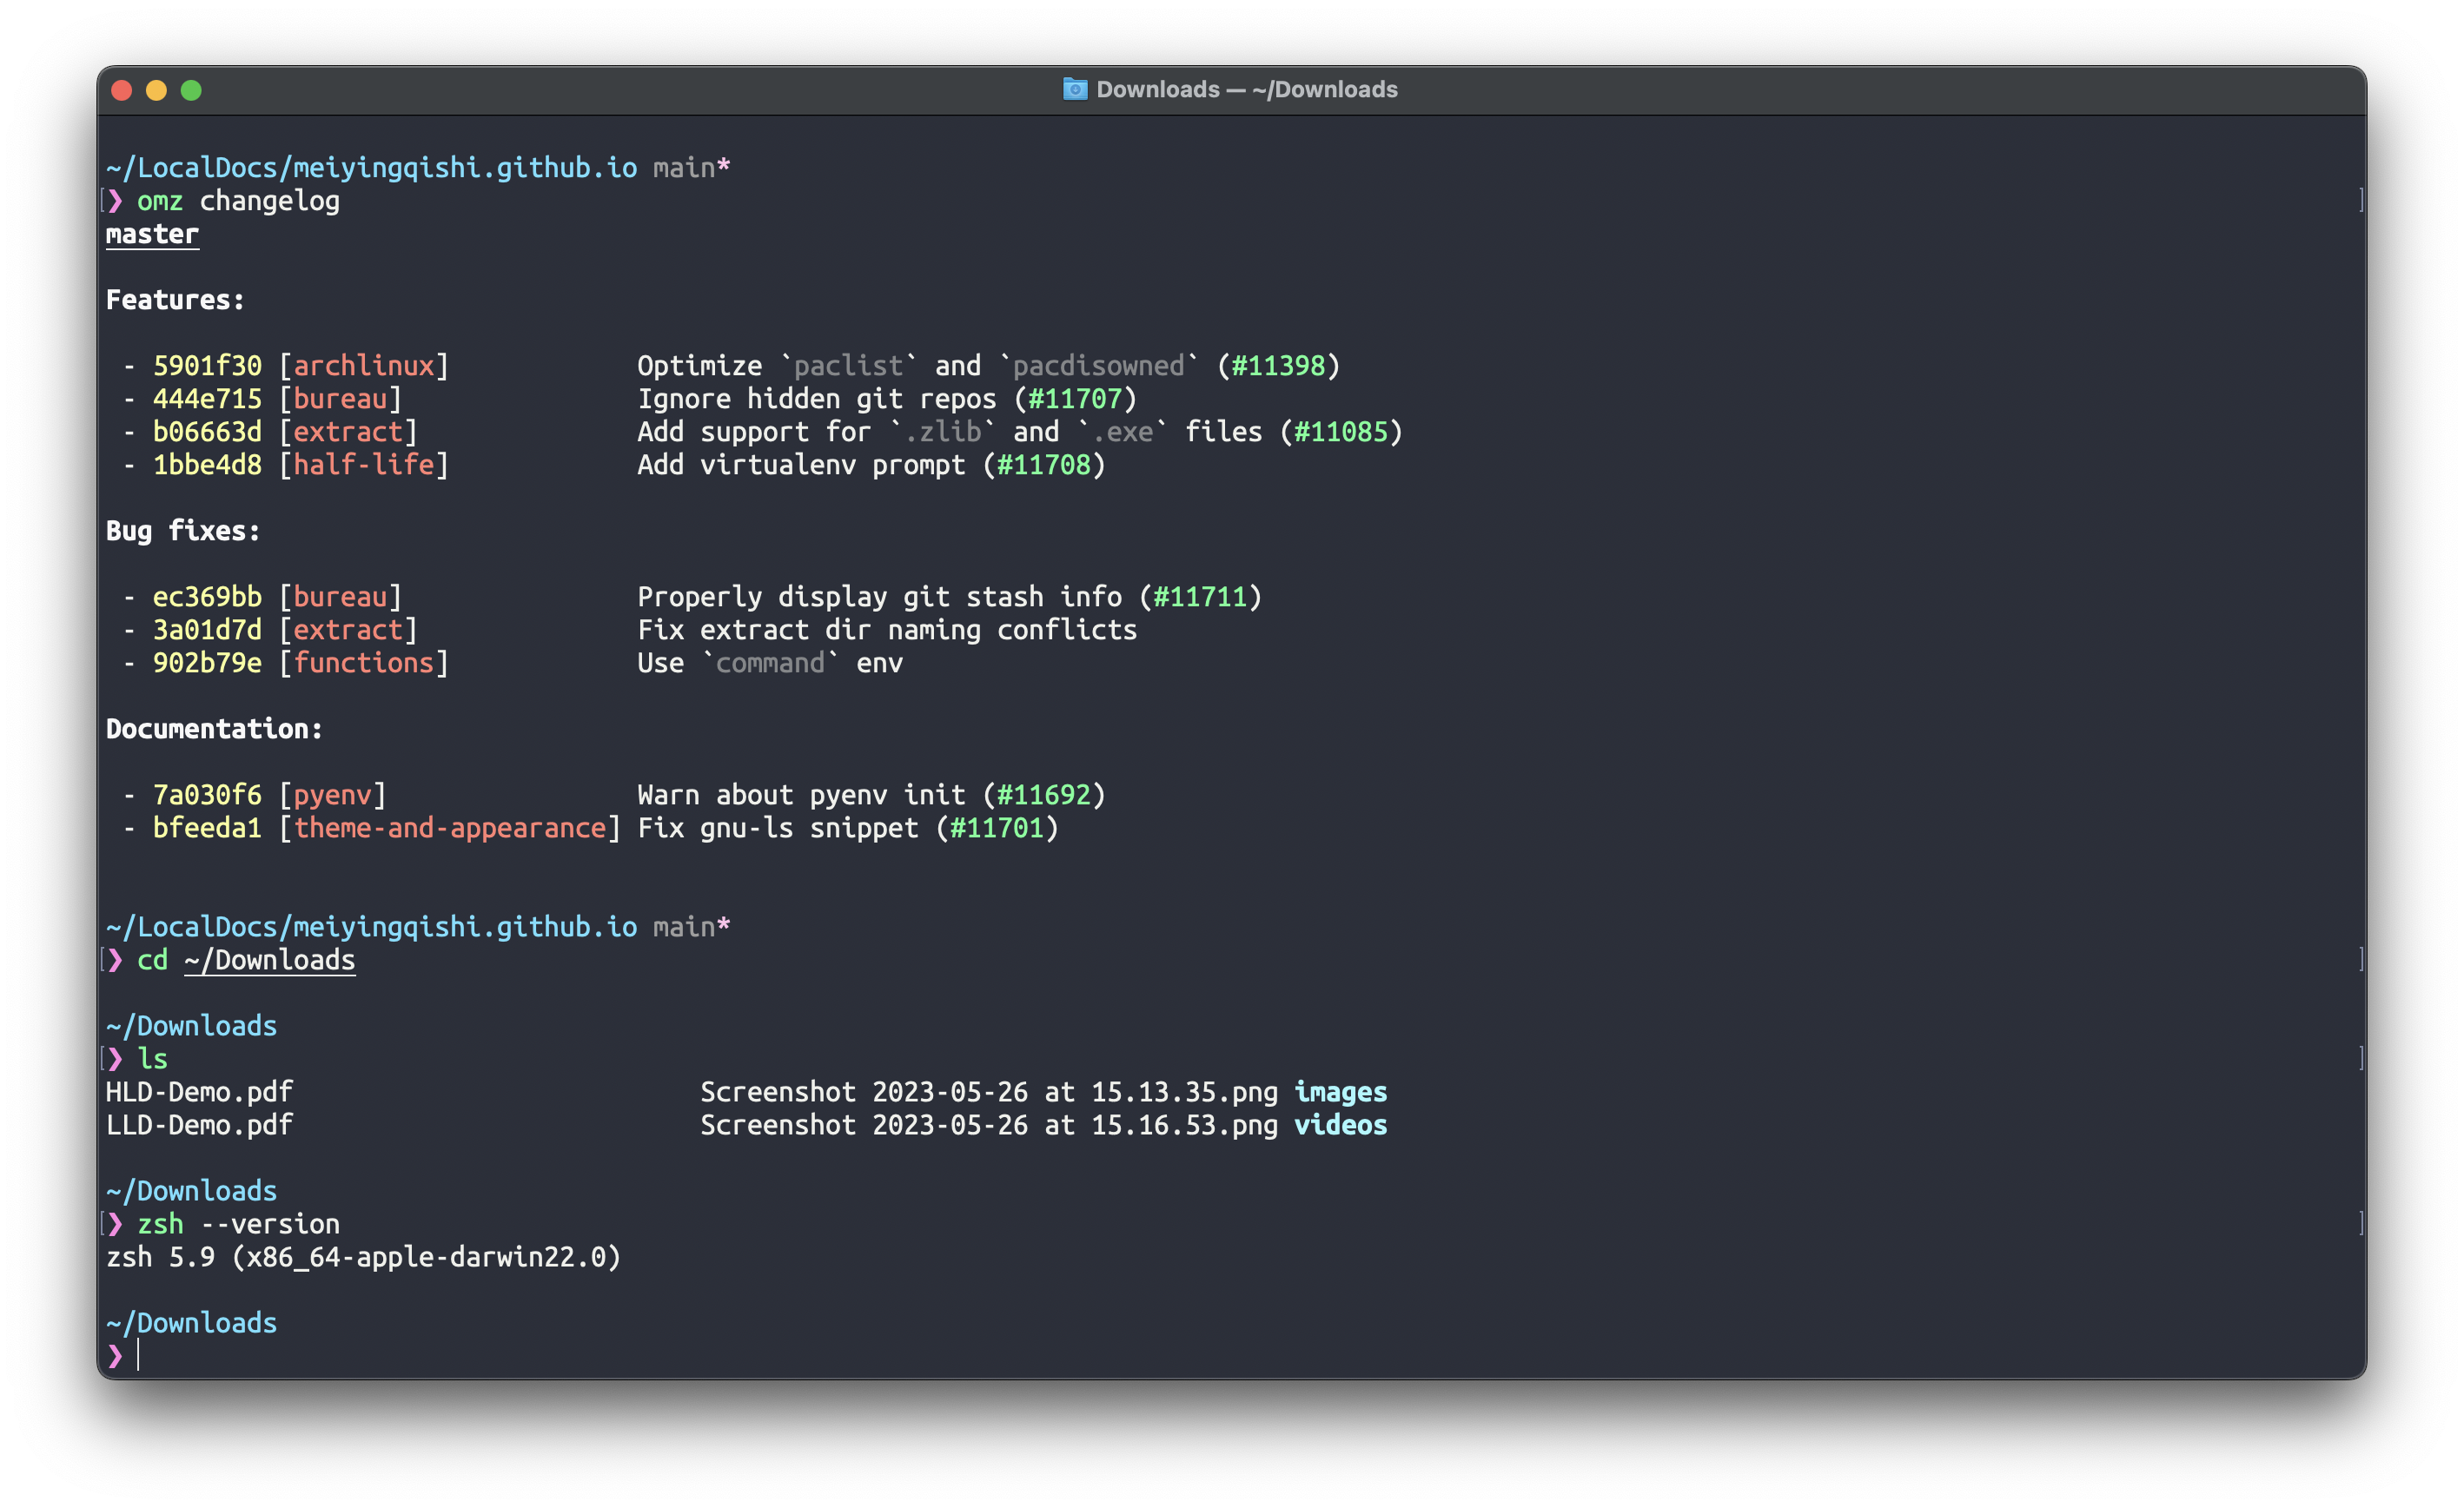
6. 最终效果展示
7. 参考
- 参考配置 https://medium.com/@jackklpan/make-mac-terminal-app-beautiful-and-productive-213f24c0ef4f
- Git 教程 https://git-scm.com/book/zh/v2
- Snazzy 终端主题 https://github.com/sindresorhus/terminal-snazzy
- Pure 提示符 https://github.com/sindresorhus/pure
- Ohmyzsh 插件 https://github.com/ohmyzsh/ohmyzsh
- Ohmyzsh 主题列表 https://github.com/ohmyzsh/ohmyzsh/wiki/Themes
- Mac 终端主题列表 https://github.com/lysyi3m/macos-terminal-themes
8. 延伸阅读
-
Themes
- iterm2-snazzy - iTerm2 version
- terminal-snazzy - Terminal version
- konsole-snazzy - Konsole version
- vscode-snazzy - VS Code version
- emacs-snazzy - Emacs version
- termite-snazzy - Termite version
- deepin-snazzy - Linux Deepin terminal version
- vim-snazzy - Vim version
- snazzybuddy.nvim - Neovim version
- base16-snazzy - Base16 version
- kitty-snazzy - Kitty version
- gnome-terminal-snazzy - Gnome terminal version
- urxvt-snazzy - Urxvt version
- alacritty-snazzy - Alacritty version
- st-snazzy - Simple Terminal version (suckless st)
- tilix-snazzy - Tilix version
- terminus-snazzy - Terminus version
- windows-terminal-snazzy - Windows Terminal version
- warp-snazzy - Warp version
- ohmyzsh-themes-new - Oh My Zsh new theme version
- ohmyzsh-themes-legacy - On My Zsh legacy theme version
- ohmyzsh-themes-external - Due to the massive amount of themes bundled with OMZ, new themes are not accepted. This is a list of other themes that are compatible with Oh My Zsh that live in their own separate repositories. More themes are listed in the awesome-zsh-plugins list. You can also use Github’s search to find *.zsh-theme files: Gist zsh themes search, GitHub zsh themes search.
-
Fonts
- powerline-fonts - This repository contains pre-patched and adjusted fonts for usage with the Powerline statusline plugin.
- nerd-fonts - Nerd Fonts is a project that patches developer targeted fonts with a high number of glyphs (icons). Specifically to add a high number of extra glyphs from popular ‘iconic fonts’ such as Font Awesome, Devicons, Octicons, and others.
-
Plugins
- powerline-statusline - Powerline is a statusline plugin for vim, and provides statuslines and prompts for several other applications, including zsh, bash, fish, tmux, IPython, Awesome, i3 and Qtile.
-
Prompts
- ZSH
- therealklanni/purity - More compact current working directory, important details on the main prompt line, and extra Git indicators.
- intelfx/pure - Solarized-friendly colors, highly verbose, and fully async Git integration.
- forivall/pure - A minimal fork which highlights the Git repo’s root directory in the path.
- dfurnes/purer - Compact single-line prompt with built-in Vim-mode indicator.
- chabou/pure-now - Fork with Now support.
- pure10k - Configuration file for Powerlevel10k that makes it look like Pure.
- Bash
- sapegin/dotfiles - Prompt and color theme for Terminal.app.
- Fish
- pure-fish/pure - Fully tested Fish port aiming for feature parity.
- Rust
- xcambar/purs - Pure-inspired prompt in Rust.
- Go
- talal/mimir - Pure-inspired prompt in Go with Kubernetes and OpenStack cloud support. Not intended to have feature parity.
- PowerShell
- nickcox/pure-pwsh - PowerShell/PS Core implementation of the Pure prompt.
- ZSH